Getting started
Once you’ve installed Meteor Azure on your machine, this tutorial will run you through the basic setup and configuration of a new project.
Step 1: Create Azure Web App
If you don’t already have a Web App in Azure, you can create one using the portal:
Note
We do not support the Linux preview
Step 2: Configure Azure Web App
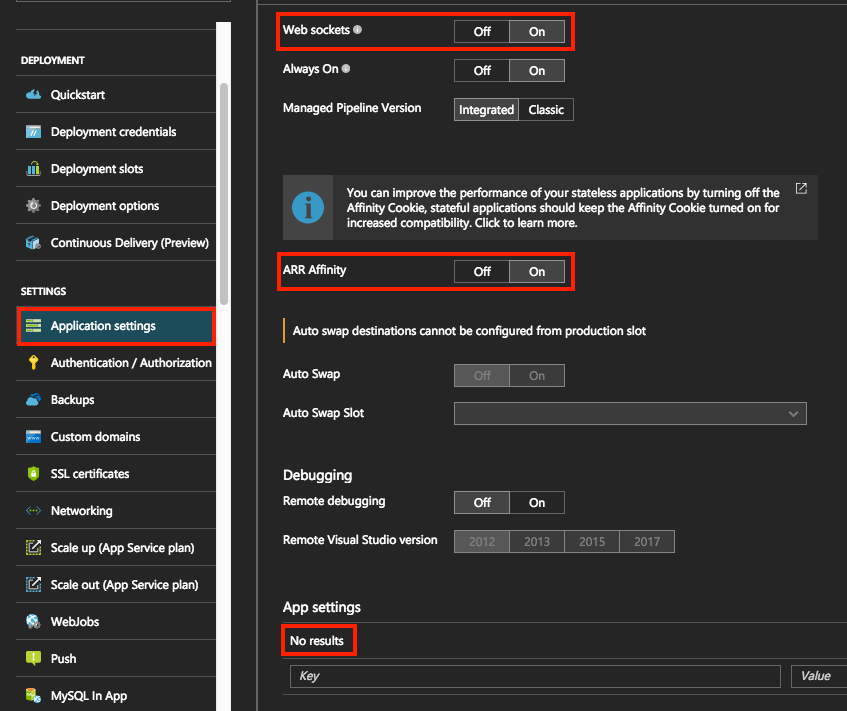
In the portal, navigate to your Web App and open “Application Settings”.
Ensure “Web sockets” and “ARR affinity” are enabled under “General Settings”, then clear any existing entries under “App settings”:
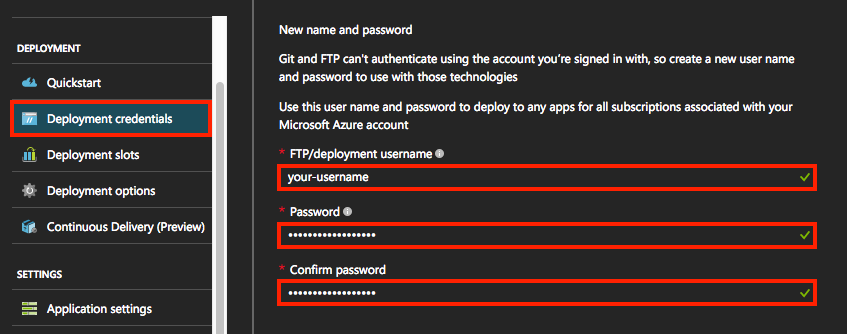
Open “Deployment credentials” and set a username and password (these are applicable to any app in your account):
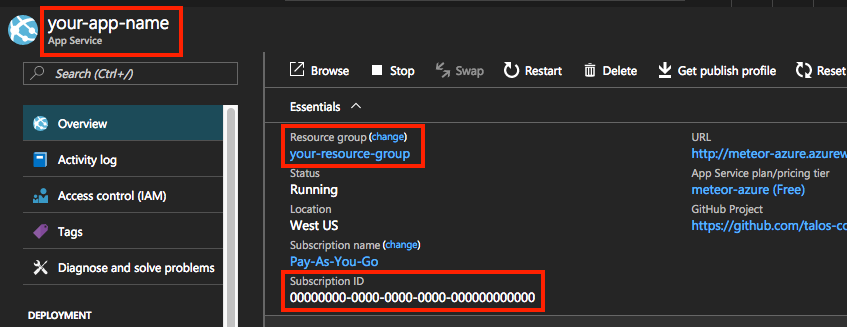
Next, open “Overview” and record your app name, resource group and subscription ID:
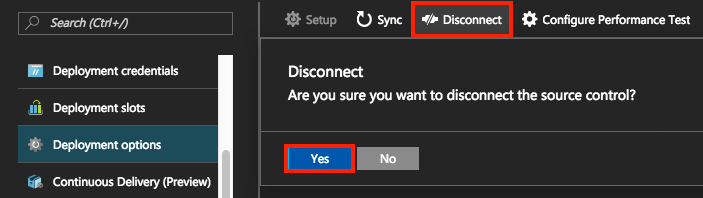
If you have previously configured a deployment source for your app, open “Deployment options” and disconnect:
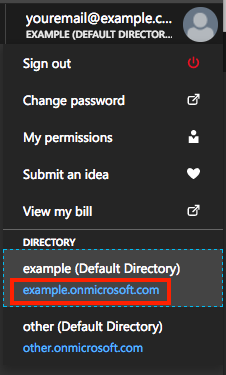
Activate the user drop-down and take note of the domain which appears under “Directory” (something.onmicrosoft.com), this is your tenant ID:
Step 3: Configure Meteor Azure
If your project doesn’t already have a Meteor.settings json file, create an empty one at the top-level (you can call it “settings.json”).
Open this file locally, and add a “meteor-azure” key with the following values:
{
  "meteor-azure": {
    "siteName": "app name",
    "resourceGroup": "resource group",
    "subscriptionId": "subscription ID",
    "tenantId": "tenant ID",
    "deploymentCreds": {
      "username": "username",
      "password": "password"
    },
    "envVariables": {
      "ROOT_URL": "https://<app name>.azurewebsites.net",
      "MONGO_URL": "MongoDB URL"
    }
  }

  // ... keys for Meteor.settings
}
Step 4: Deploy project
Navigate to the project directory on your local machine and run:
$ meteor-azure --settings path-to-settings-json
Your project should now be live at https://<app name>.azurewebsites.net
Next steps
- Setup HTTPS redirect (the “force-ssl” package is incompatible)
- Setup automatic CLI login
- Enable multi-core